Redding Countertop Fitters
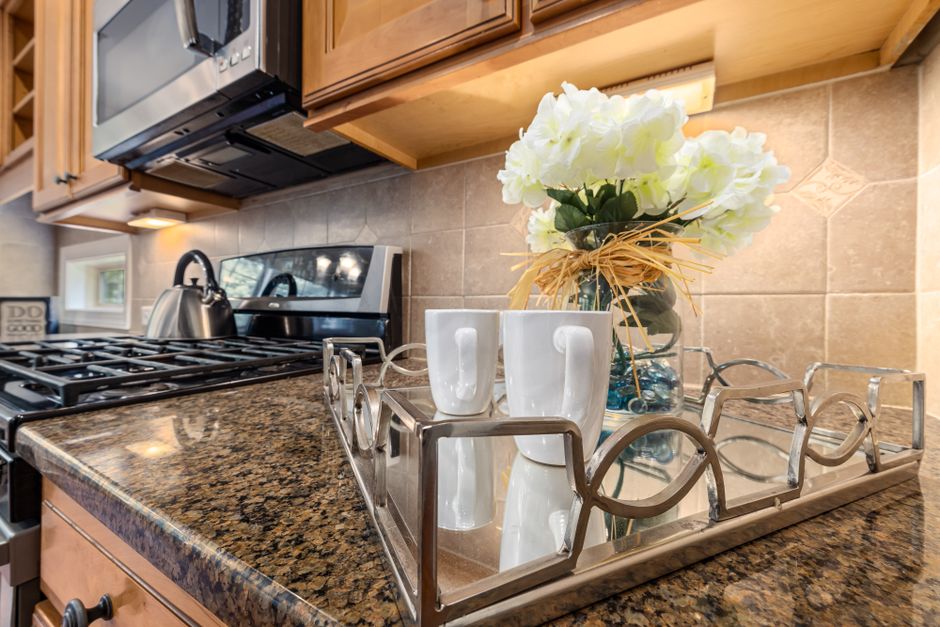
Detail level notes on countertop fitting in Redding: how the joint behind the counter is finished, and what holds up an overhang or a waterfall end.
Countertop Fitting in Redding, at Detail Level
A countertop job is judged on a handful of details that take a few minutes each and are difficult to correct afterwards. The joint at the wall, the support under an overhang, the flatness across a seam. These notes cover the ones worth watching on install day.
The Joint Behind the Counter
Where the stone meets the wall there is always a gap, because walls are not flat. How that gap is treated decides whether the finished run looks tight or looks caulked. A backsplash, a scribed edge, or a bead of silicone are three different answers with three different appearances and three different prices.
What Holds Up an Overhang
Stone is strong in compression and weak in bending. An unsupported overhang past a certain point will crack, and the point arrives sooner than most people expect. Brackets, steel plates and corbels are the standard answers, and the choice is structural rather than decorative.
Redding Specifics
Homes in the area range from mid century tract construction to newer builds, and the older cabinet runs frequently need packing before stone goes on. That is ordinary work, but it should be visible: a crew that puts a long level on the run before setting the slab is a crew doing the job properly.
In These Notes
Below: backsplash height and the wall joint, and the support required for overhangs and waterfall ends.
Latest Guides
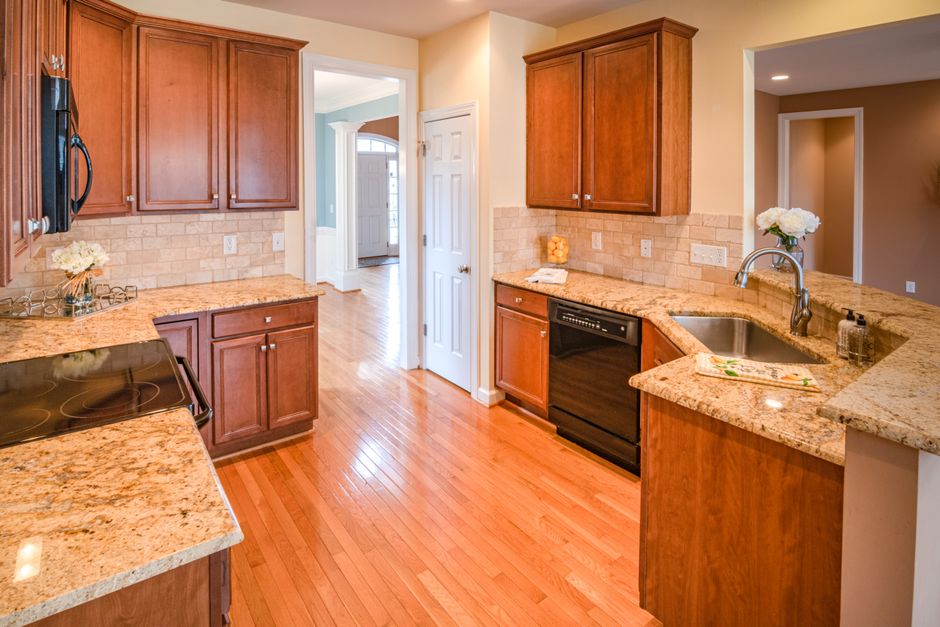
Backsplash Height and the Joint Behind the Counter
2026-09-05
The back edge of a countertop is where two imperfect things meet. Walls bow, they lean, and in older houses they have been patched several times. Stone is straight. Whatever fills the difference is a decision, and it is usually made in a showroom in about ten seconds by someone choosing a look rather than a solution.
Option One: Silicone Only
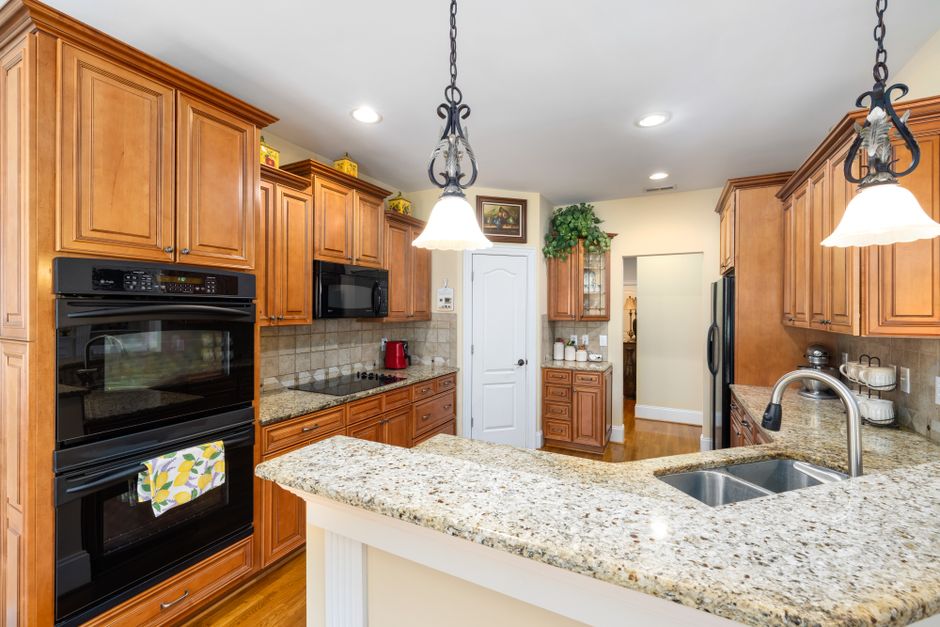
The counter is scribed to follow the wall as closely as the fabricator can manage and a bead of colour matched silicone closes the rest. This is the cleanest modern look, especially with a tiled splash above it, and it is the least forgiving of a bad wall. A gap that varies from one to six millimetres along a run will show, because the caulk line visibly changes width.
Option Two: A Four Inch Splash
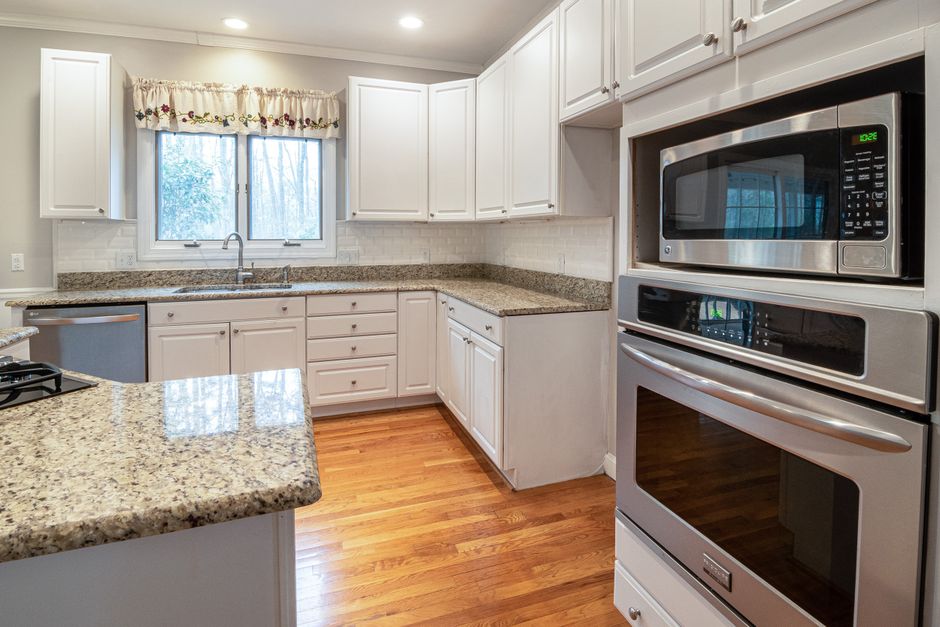
A short piece of the same material stands against the wall. It hides the joint completely, it is cheap because it comes from offcut, and it is the most common answer on a budget job. The trade off is the look, which reads as dated to a lot of buyers, and the fact that it creates a second joint at the top of the splash which itself gets caulked.
Option Three: A Full Height Slab Splash
The material runs from the counter to the underside of the wall cabinets. It looks excellent, it wipes down in one pass, and it is the most expensive of the four because it is a large amount of extra material and extra fabrication for outlets and switches. It also demands a reasonably flat wall, since a full sheet of stone cannot be scribed along its whole height.
Option Four: Tile
Tile above a silicone joint is the flexible answer. It absorbs a bowed wall because each tile is small and the grout takes up the variation, and it lets the counter and the splash be different materials. It is a separate trade and a separate schedule, which is worth knowing because tiling usually happens after the counter and the two crews have to be sequenced.
Deciding on Your Wall
Before choosing, hold a long straightedge against the wall behind the counter run at a few heights and look at the light behind it. A wall that is within a couple of millimetres over four feet will carry any of the four. A wall that is visibly wavy pushes you toward tile or a splash, and choosing a bare silicone joint on it is how a nicely fabricated counter ends up looking wrong along its entire back edge.
Supporting Overhangs and Waterfall Ends
2026-09-05
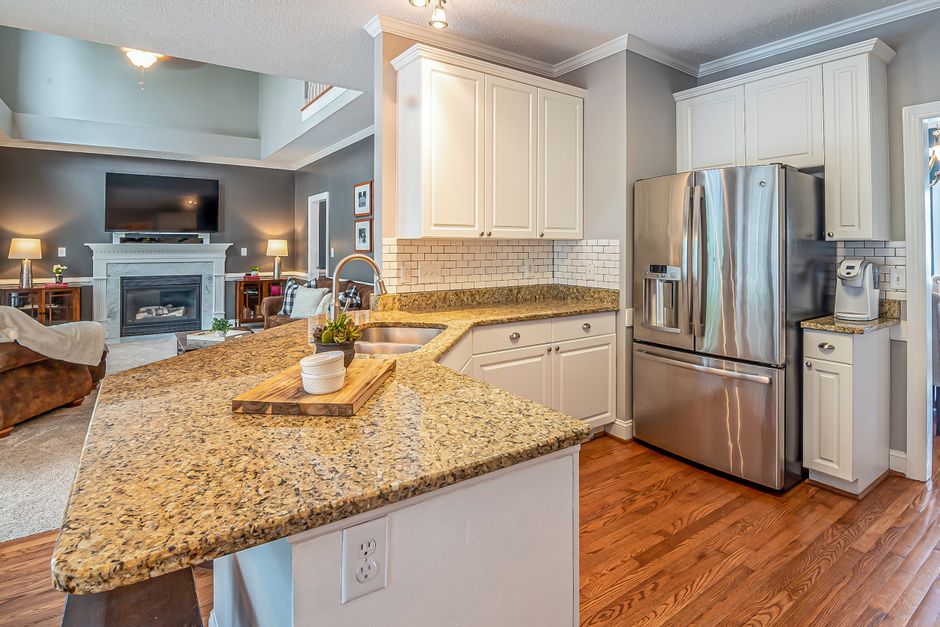
An island with a seating overhang is the most common place a countertop cracks, and it almost never cracks on install day. It cracks a year later when somebody sits on it, or leans on the corner, or a child hangs off the end. The physics are simple and the fix is cheap, which makes it a frustrating failure to see.
How Far Is Too Far
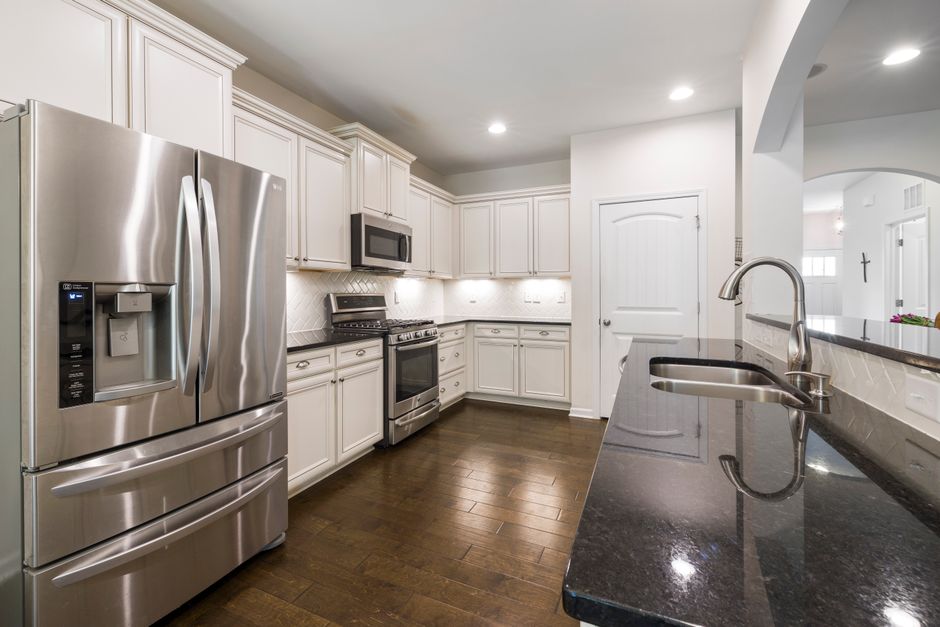
The commonly used guidance for a three centimetre engineered or granite top is that an unsupported overhang up to about ten inches is fine, ten to fifteen inches wants support, and beyond fifteen inches needs proper structural support in every case. Two centimetre material halves those numbers. Quartzite and marble behave differently again depending on the slab.
Those figures assume the stone is otherwise intact and that the load is a person leaning, not a person sitting. If the overhang is a breakfast bar people will sit at, plan support at the lower end of the range rather than the upper one.
What Support Looks Like
Steel plates set into the top of the cabinet, running out under the overhang, are the least visible option and the one most fabricators prefer. They are recessed so the stone still sits flat and nothing shows from below. Corbels and brackets are the visible alternative, and they are fine, but they change the design and they intrude on knee room, which is the reason the overhang existed.
A hidden steel plate has to be specified before the cabinets are closed up and often before template, because it changes the height at which the stone sits. Asking for it after the counter is installed means lifting the stone.
Waterfall Ends
A waterfall is a vertical panel running to the floor, mitred to the horizontal top so the grain appears continuous around the corner. The joint is the whole point and it is doing structural work: it carries the panel and takes any knock the corner receives. Good ones are cut on a bridge saw with a precise forty five, glued with a colour matched epoxy, and clamped. Poor ones show a dark line at the corner or, worse, open slightly at the top over a year.
Underneath, a waterfall panel needs something to sit against. A cabinet end panel or a plywood substrate gives it a bearing surface. A panel glued only at the mitre is a lever waiting for a hip to catch it.
What to Confirm
Get the overhang dimension and the support method written on the quote. Ask whether steel is included or extra. If a waterfall is in the design, ask how the mitre is cut and what the panel bears on at the floor. Every one of those is a five minute conversation before fabrication and a slab replacement afterwards.